

Have you heard that now, Binance Smart Chain users are able to transfer their tokens to the Polygon network? Using XPollinate bridge, you’ll be allowed to connect to your Web3 wallet and transfer such stablecoins as USDC, USDT, and DAI, between several EVM-based chains.
At this time, the XPollinate bridge supports the xDai chain, Polygon, Fantom, and BSC Network. If it’s interesting for you to know how can you, for example, swap USDT to Matic Polygon, or learn the way it works in general, we’ve got some great news for you – today’s article will tell you how you can use the XPollinate bridge to transfer your tokens from the BSC network to the Matic network, why it’s worth making swap Matic to USDT and vice versa, and how it’s possible to make a USDT to Matic swap, using a special aggregator. So let’s not waste time and get to the point!
So, let’s start with the main question – how to swap USDT to Matic? Below you’ll find a detailed step-by-step guide that will help you avoid any mistakes and get all the things right on the first try.
Since the XPollinate bridge sometimes experiences some difficulties with V2 transactions, we’d like to consider an example with the V1 bridge.
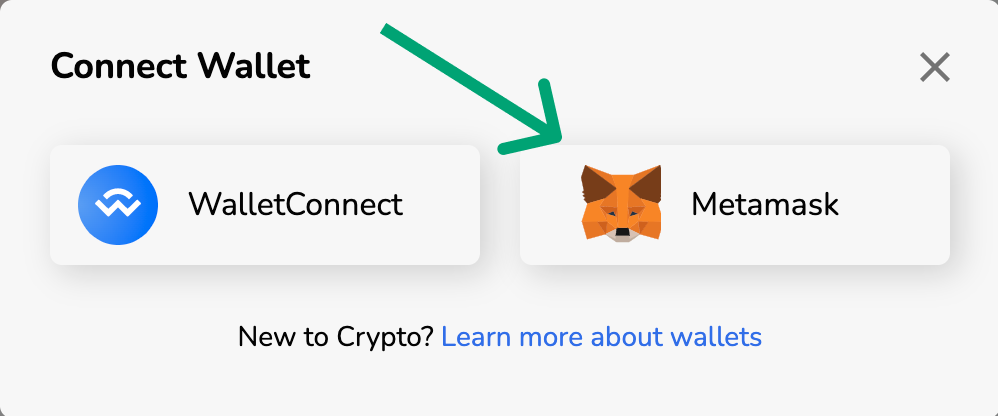
- First of all, you need to connect your wallet. Currently, the bridge offers you two available options: Metamask and WalletConnect wallets.
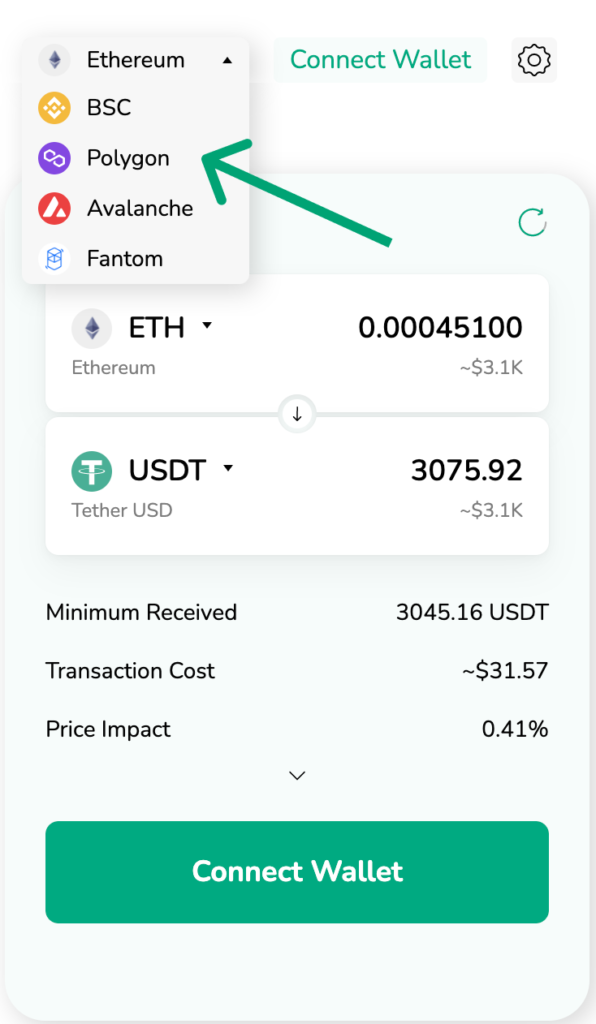
- After you’ve connected your wallet, you should set it to the Binance Smart Chain network. Once you’ve done it, you’ll see a page where it’ll be necessary to enter all the following required details connected with your transfer: Source Network, Destination Network, and Token/Coin for conversion.
- Then, you’ll see that the receiving address is filled in by the application – it’s an address, with the help of which you’ll get your tokens after transferring them to the destination network.
- Moreover, it’s required to set up a destination network in the selected wallets. In the event that you’ve already set up Matic network details in your Metamask wallet, you can ignore this step. If not, here are all the crucial details that will help you to set up the Matic network:
- Network Name: Matic
- New RPC URL: https://rpc-mainnet.maticvigil.com/
- Chain ID: 137
- Currency Symbol: MATIC
- Block Explorer URL: https://explorer-mainnet.maticvigil.com
- If you’re willing to add the network, go to Settings, press the button “Add Network” and fill in the necessary details above in the required fields.
- After you’ve done the previous step, click “Swap”.
- Further, enter the number of tokens you’d like to exchange. Here, you’ll also be able to check the estimated fee and the amount you’ll receive at the destination address.
- To complete the process, tap “Swap” – it’ll lead to the Metamask transaction you’ll have to confirm.
- Once the transaction has been successfully finished, you’ll get a special message about that. Finally, press the button “Add USDT To Matic Mainnet” to add the token to your wallet. That’s it!
In addition to the USDTs, you can also complete the same process of transferring DAI and USDC to the different supporting networks.
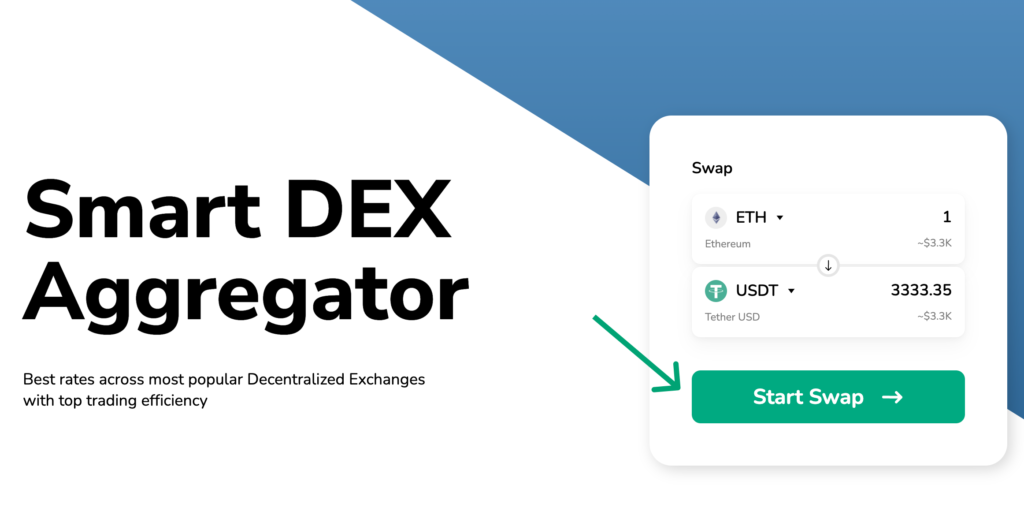
Why exchange USDT to Polygon?
Actually, everything is straightforward – independent blockchains like Polygon offer their users such great advantages as lower fees and faster transaction times. Thanks to such a feature, we’re able to decrease the congestion on the Ethereum base blockchain, which will lead to an improved user experience since all people migrate to the Polygon applications.
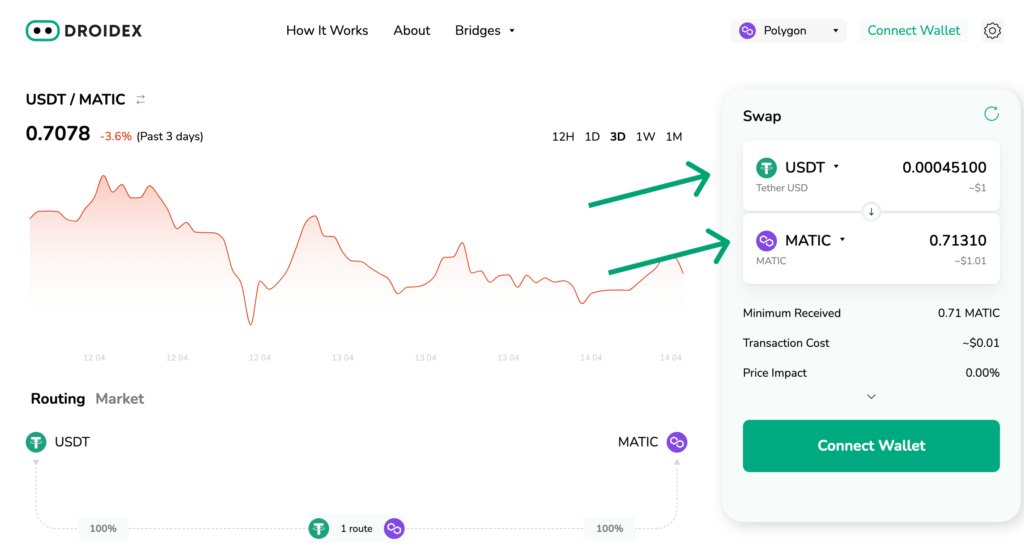
How to exchange USDT to Matic using Droidex
If you’re willing to make a Polygon swap USDT to Matic, we’re happy to say that we’ve found a great solution for you – an aggregator Droidex that offers its users the best rates among the competitors. To help you avoid any mistakes during the process, we’d like to share with you a small step-by-step guide, which you’ll see below – use it and be sure your transaction will be completed successfully.
- First of all, you need to visit Droidex’s official website – droidex.io and click “Swap”.
- After that, choose Polygon blockchain.
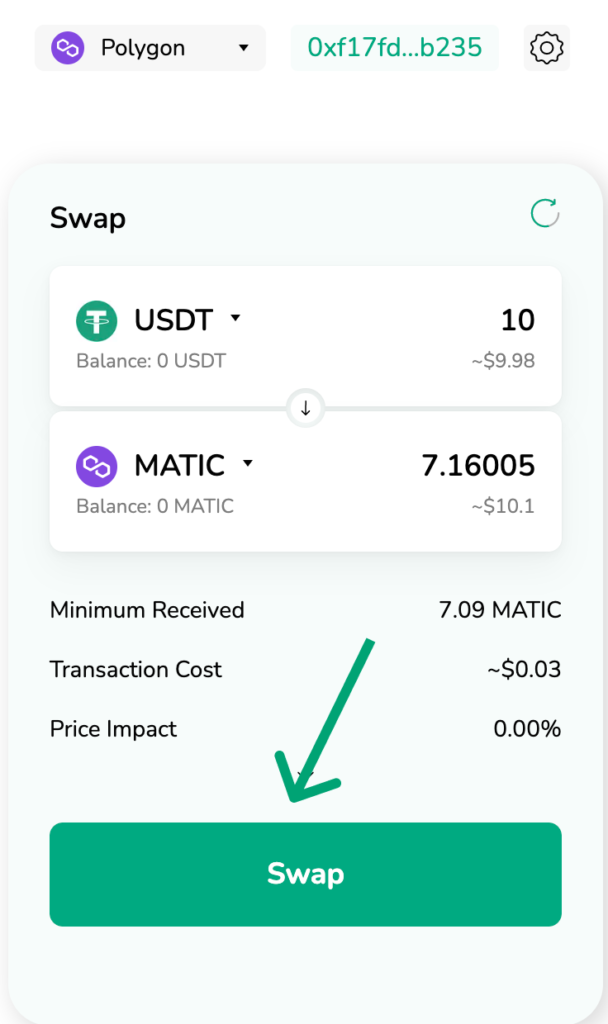
- Once you’ve chosen the necessary blockchain, select coins you want to swap – USDT and Matic.
- Then, enter the number of tokens you want to exchange – let it be 10 and press the button “Connect Wallet”.
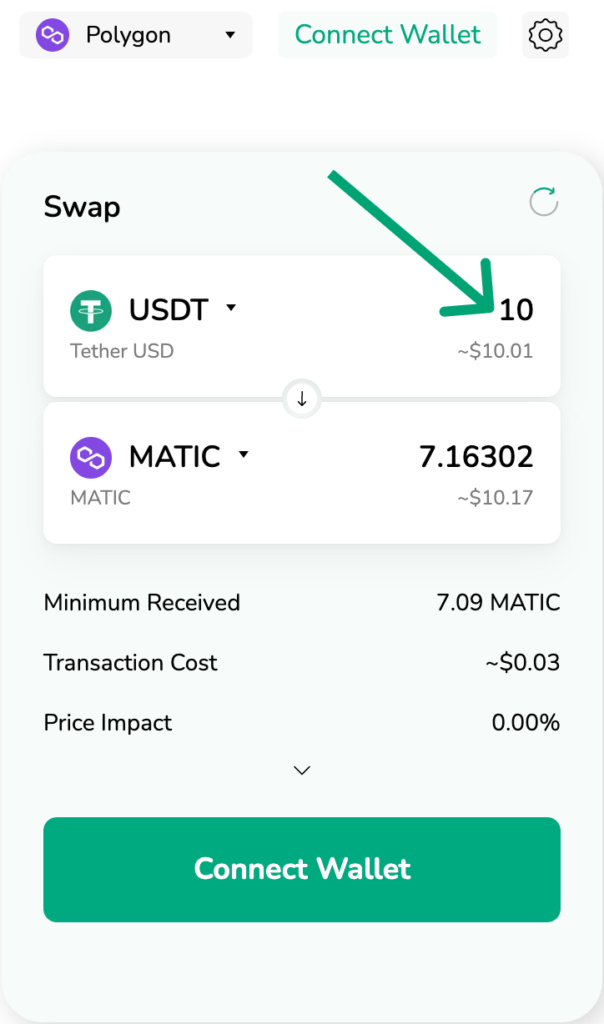
- Further, choose a wallet – for example, Metamask.
- Click “Swap”.
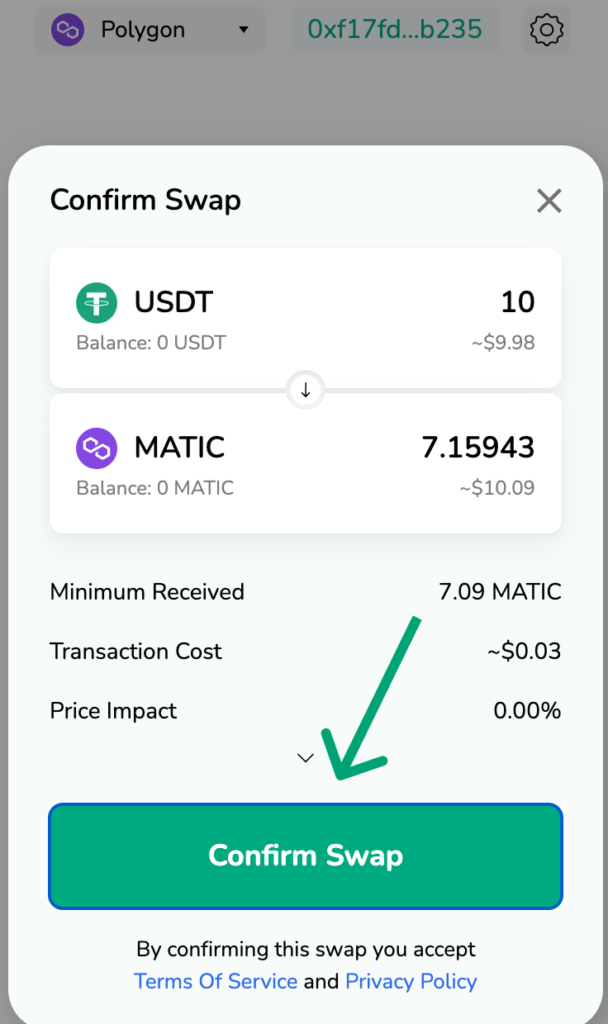
- Finally, click “Confirm Swap”.
- Our congratulations! Get your tokens!
In case you want to buy any coin for fiat, try out Fiatom fiat-to-crypto aggregator that will help you find the best offer on the market completely free of charge.
Also, you can exchange USDT to Matic
In addition to the Matic to USDT swap and vice versa, with the Droidex aggregator, you’re also able to exchange many other tokens such as FTM, AVAX, and so on. So if you’re willing to swap your tokens and be sure everything will be done securely, we strongly recommend you choose precisely Droidex – all the detailed info about the aggregator, as well as its features can be always found right here.